- Created by leandromatos
- 🗓 Last Updated: 05/06/23 15:52:03
- 🌟 Stars on GitHub: 49
- Please consider supporting the creator by Starring or Sponsoring them on GitHub!
- Import Theme
- Get Latest Release
- Get Source Code
From their README
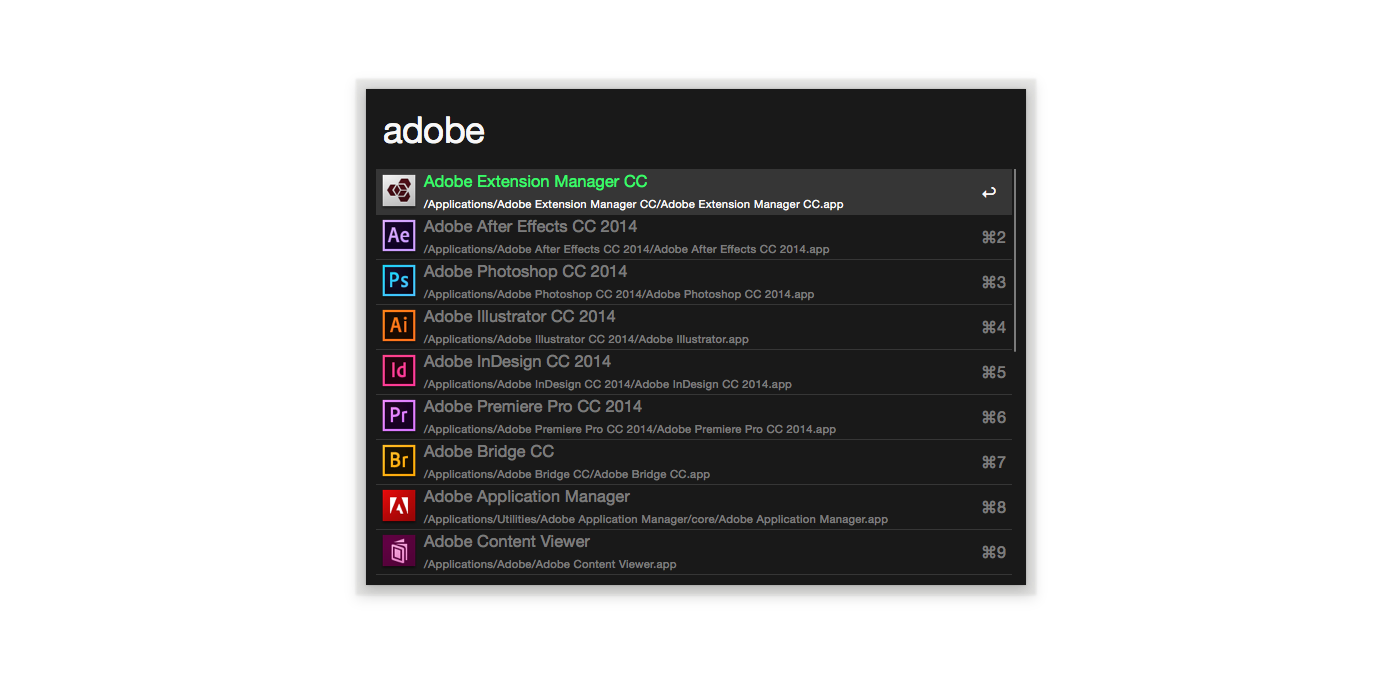
Pre Theme
A simple and dark theme enough for Alfred, iTerm, Sublime, Terminal (Mac), ZSH and Sequel Pro.
Alfred
Install using Git
If you are a git user, you can install the theme and keep up to date by cloning the repo:
$ git clone https://github.com/leandromatos/pre-theme/Install manually
Download using the GitHub .zip download option and unzip them.
Activate the theme
Double-clicking on alfred/Pre.alfredappearance file
iTerm2
Note: iTerm2 with ZSH Theme.
Install using Git
If you are a git user, you can install the theme and keep up to date by cloning the repo:
$ git clone https://github.com/leandromatos/pre-theme/Install manually
Download using the GitHub .zip download option and unzip them.
Activate the theme
- Go to iTerm2 > Preferences > Profiles > Colors Tab
- Click Load Presets …
- Click Import
- Select the iterm/Pre.itermcolors file
- Select Pre from Load Presets …
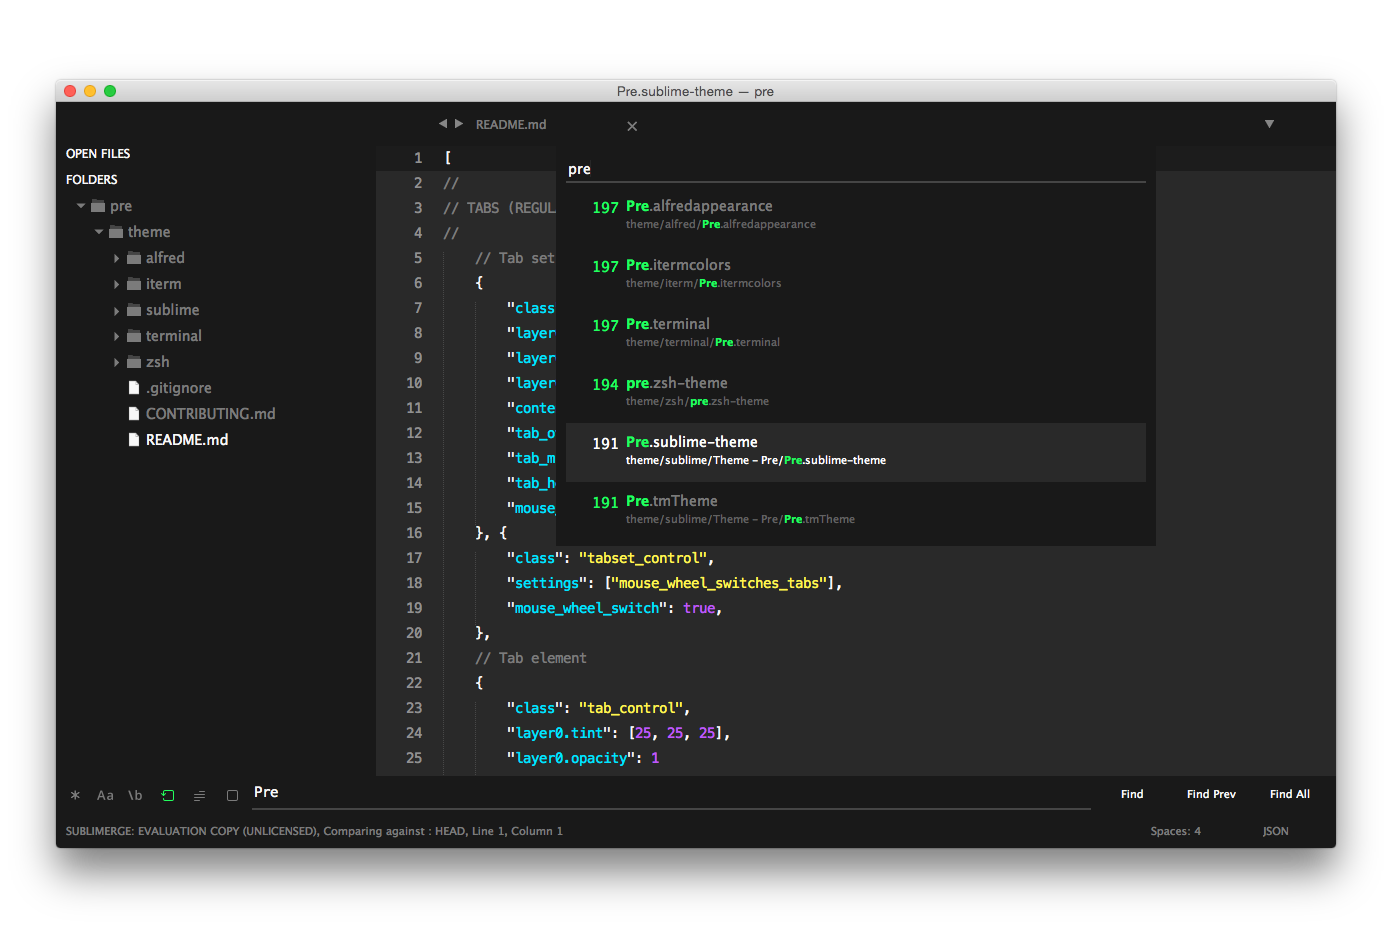
Sublime
Install using Git
If you are a git user, you can install the theme and keep up to date by cloning the repo:
$ git clone https://github.com/leandromatos/pre-theme/Install manually
Download using the GitHub .zip download option and unzip them.
Activate the theme
- Go to Sublime Text > Preferences > Browse Packages …
- Copy the sublime/Theme - Pre folder and paste into your Sublime Text Package directory
- Go to Sublime Text > Preferences > Settings – User and add preferences
"theme": "Pre.sublime-theme",
"color_scheme": "Packages/Theme - Pre/Pre.tmTheme",
Theme styles
This theme provides an alternative style:
Screencasts
Set big text including tabs and sidebar
"pre_theme_screencasts": true,
"font_size": 18.0,
Recommended settings for a better UI experience:
"overlay_scroll_bars": "enabled",
"font_size": 14.0,
"line_padding_top": 4,
"line_padding_bottom": 4,
"indent_guide_options": [ "draw_normal", "draw_active" ], // highlight active indent
"font_options": [ "gray_antialias" ], // on retina Mac
Note: Remember to restart Sublime Text after modify any preferences in Settings – User.
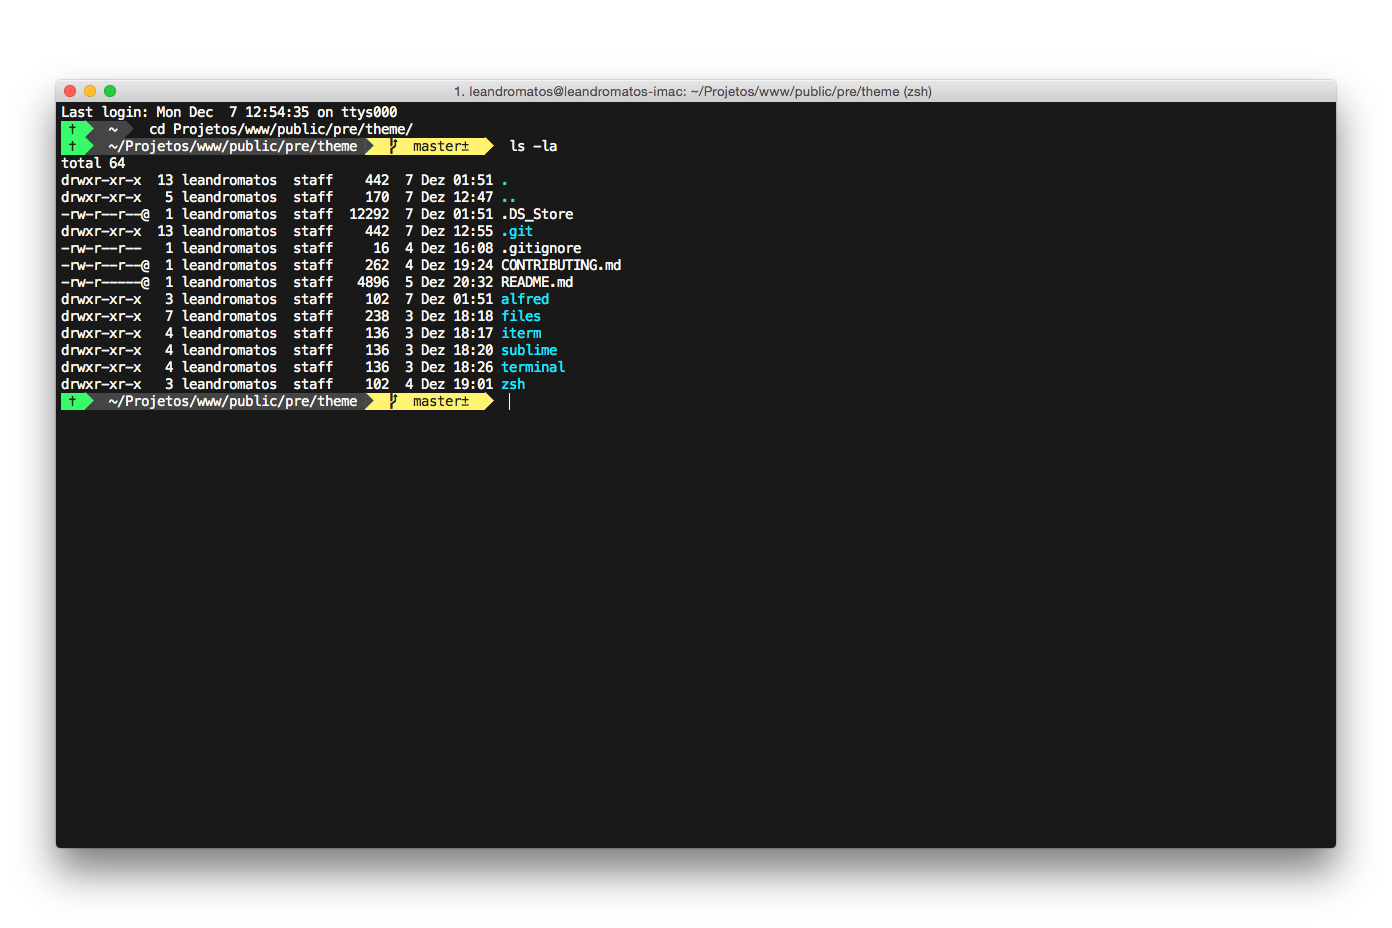
Terminal (Mac)
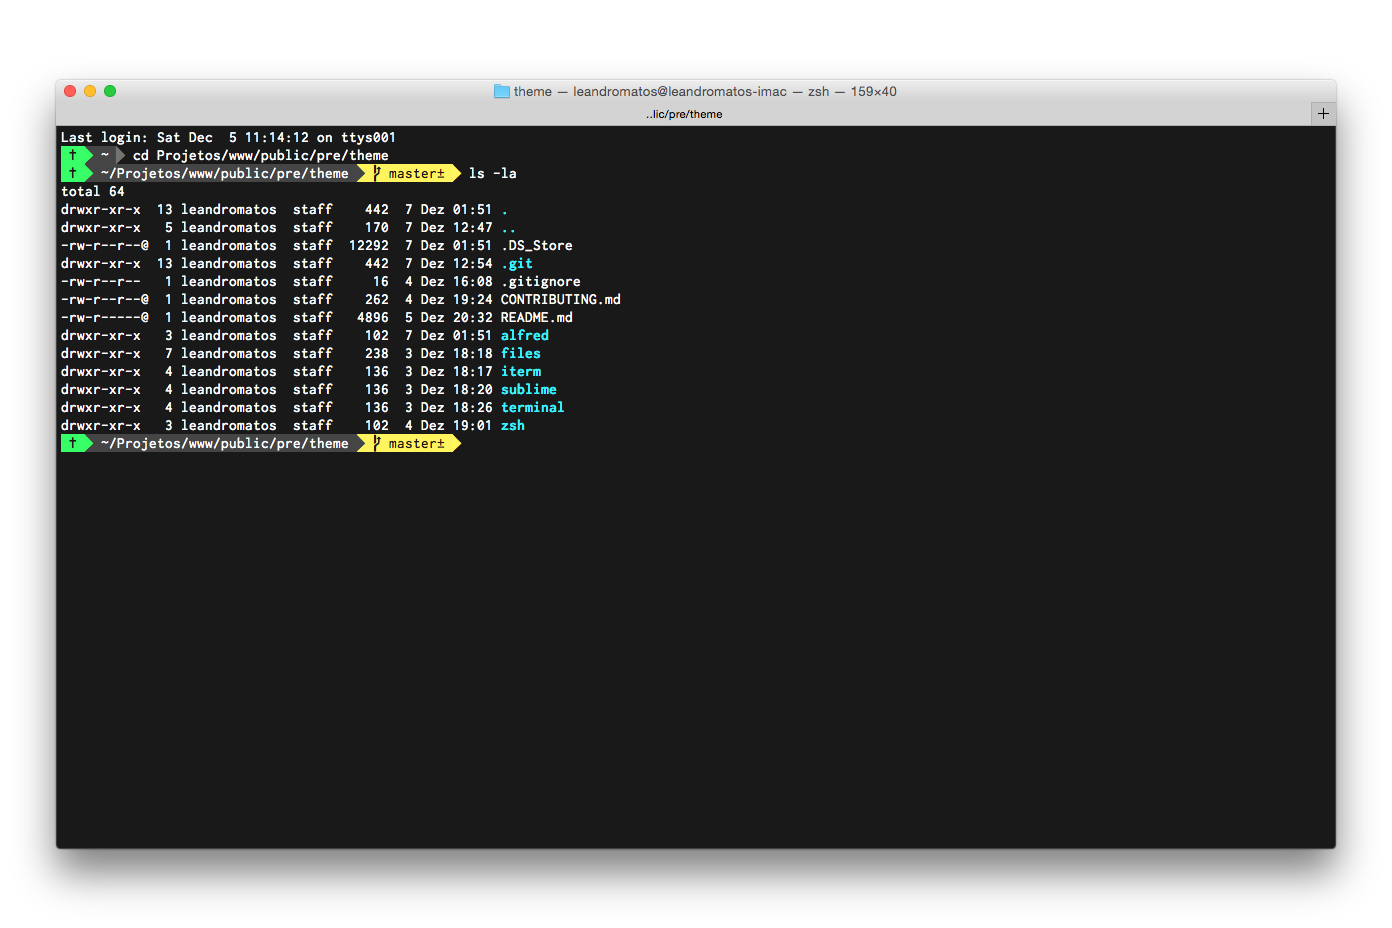
Note: Terminal (Mac) with ZSH Theme.
Install using Git
If you are a git user, you can install the theme and keep up to date by cloning the repo:
$ git clone https://github.com/leandromatos/pre-theme/Install manually
- Download using the GitHub .zip download option and unzip them.
Activate the theme
- Go to Terminal > Preferences
- Click "Gear" icon
- Click Import …
- Select the terminal/Pre.terminal file
- Click Default
ZSH
Install using Git
If you are a git user, you can install the theme and keep up to date by cloning the repo:
$ git clone https://github.com/leandromatos/pre-theme/And creating a symbolic link to oh-my-zsh's theme folder:
$ ln -s $PRE_THEME/zsh/pre.zsh-theme $OH_MY_ZSH/themes/pre.zsh-themeNote: Remember that you should replace $PRE_THEME and $OH_MY_ZSH to the actual directories for this command to work.
Install manually
- Download using the GitHub .zip download option and unzip them.
- Move zsh/pre.zsh-theme file to oh-my-zsh's theme folder: ~/.oh-my-zsh/themes/pre.zsh-theme.
Activate the theme
- Go to your ~/.zshrc file and set ZSH_THEME="pre".
Note: The theme requires specific fonts to display the status icons correctly in the terminal. Please download and install all variations named "FiraCode Nerd Font".
Recommended settings for a better UI experience:
If you use iTerm2
- Go to iTerm2 > Preferences > Profiles > Text Tab
- In Font click to Change font and select family FiraCode Nerd Font, typeface Regular, size 16, vertical align 90, and horizontal align 110.
- In Non-ASCII Font click in Change font and select family FiraCode Nerd Font, typeface g and size 14
If you use terminal (mac)
- Go to Terminal > Preferences
- In Font click in Change … and select family FiraCode Nerd Font, typeface Regular and size 16
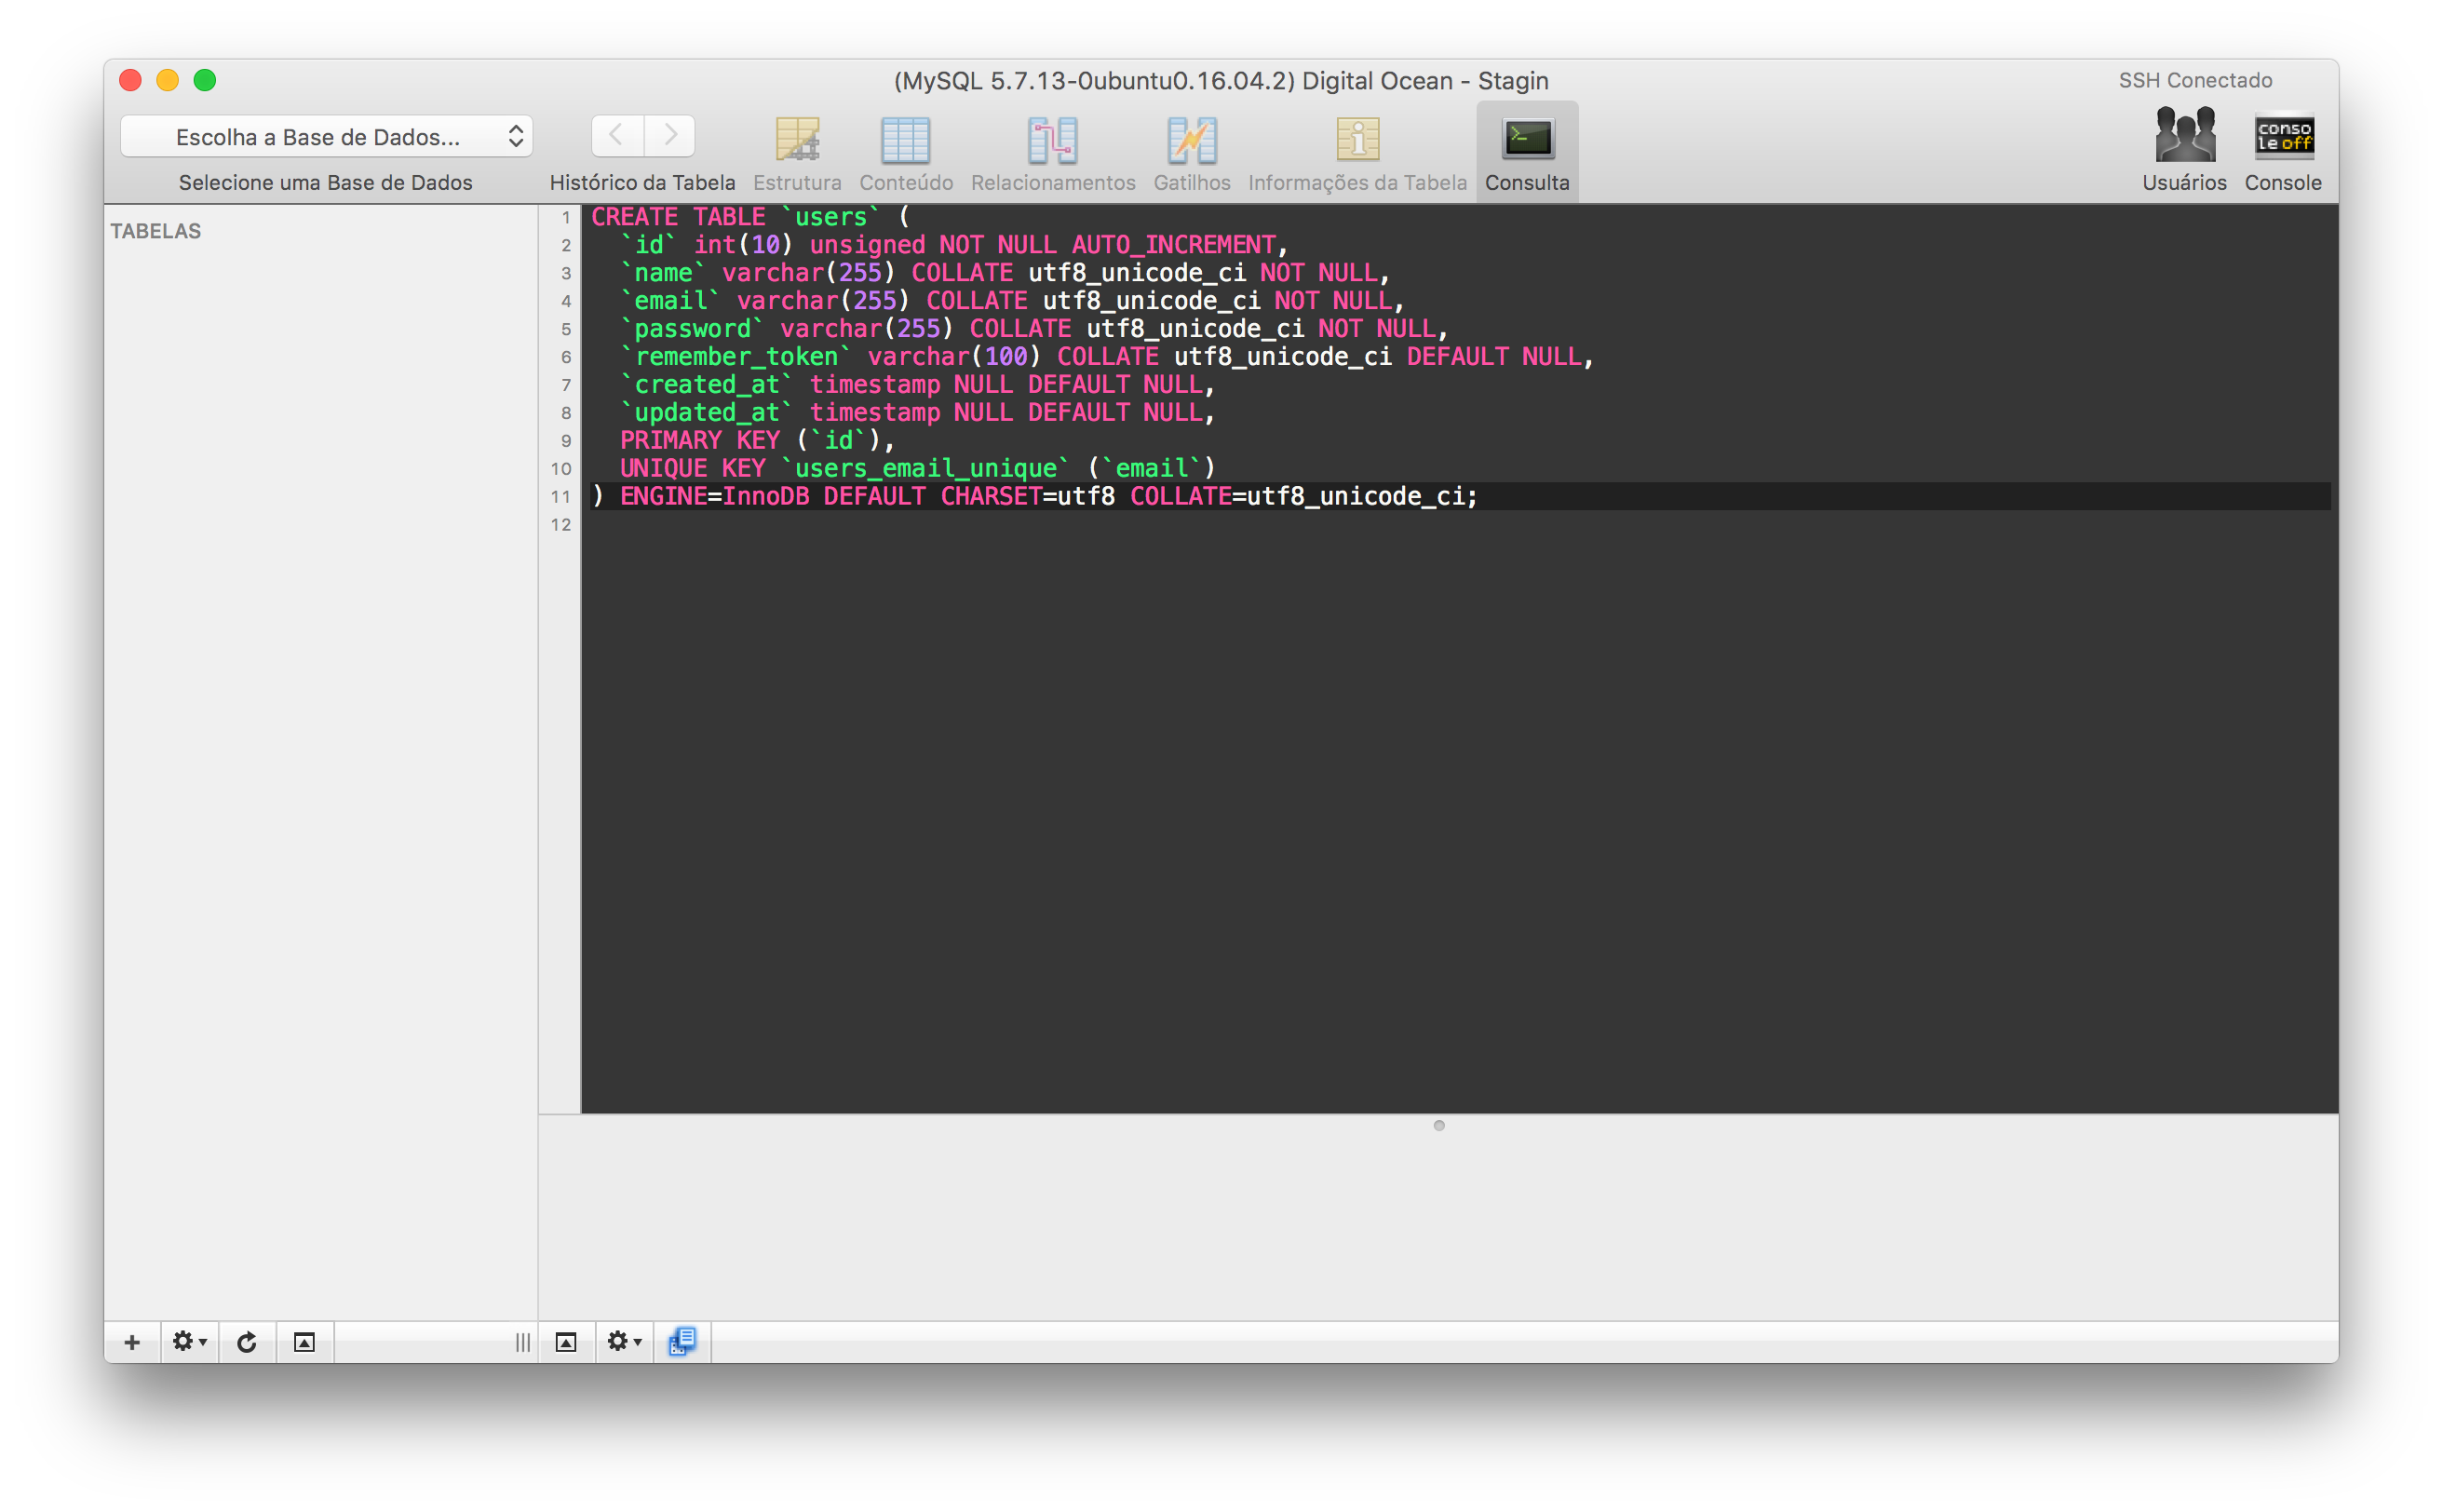
Sequel Pro
Install using Git
If you are a git user, you can install the theme and keep up to date by cloning the repo:
$ git clone https://github.com/leandromatos/pre-theme/Install manually
- Download using the GitHub .zip download option and unzip them.
Activate the theme
- Go to Sequel Pro > Preferences > Query Editor
- Click "Gear" icon
- Click Click Import Color Scheme...
- Select the Select the Pre.spTheme file file
Slack
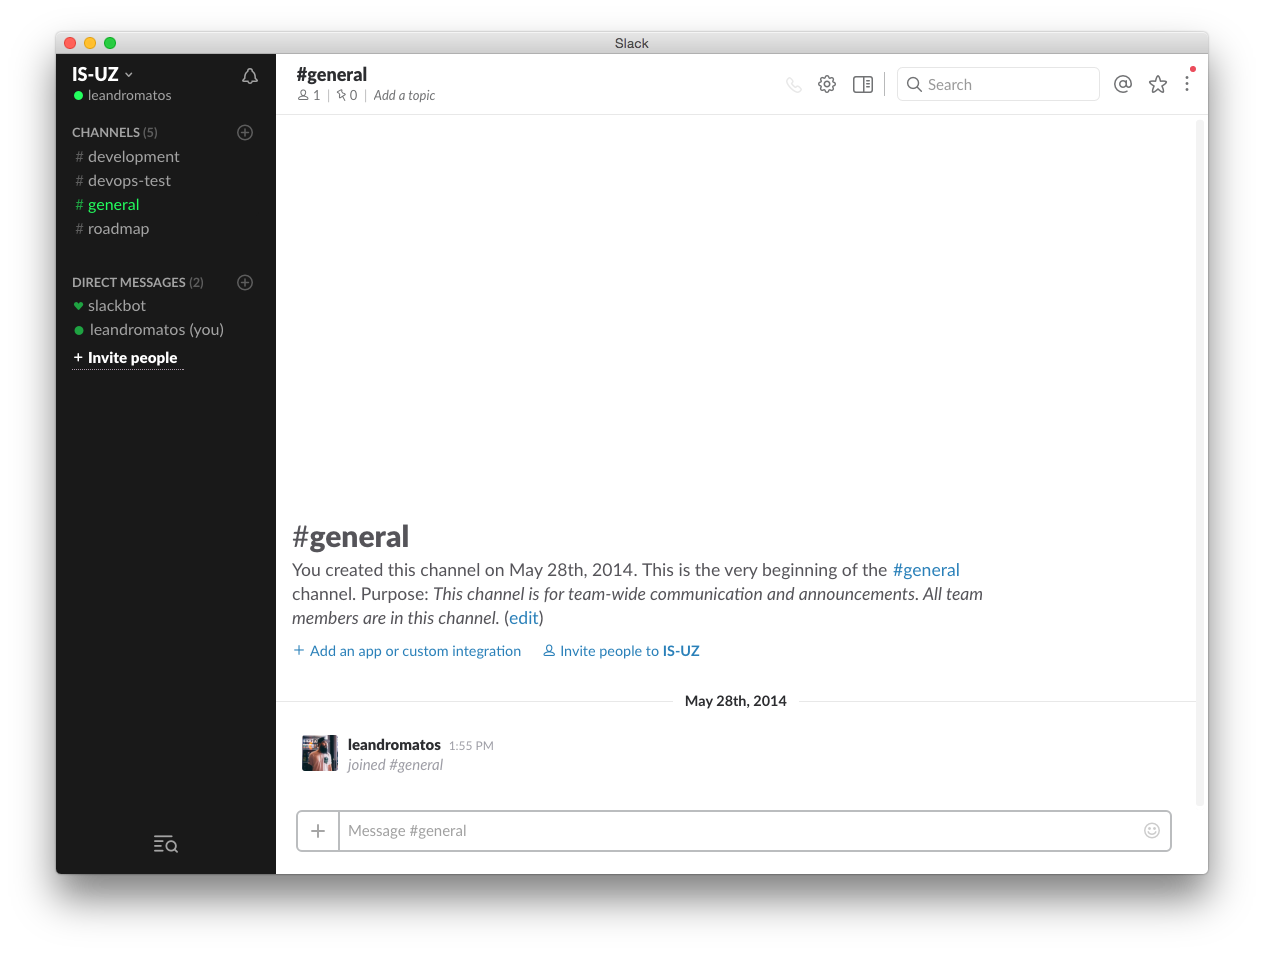
- Go to User Menu > Preferences > Sidebar Theme
- In the bottom of the window, look for a "customize your theme and share it with others" link
- Copy and paste the values below
#191919,#292929,#191919,#23FF5E,#292929,#FFFFFF,#23ff5e,#23FF5EContributing
If you want to help, please read the Contributing guide.
License
MIT License © Leandro Matos